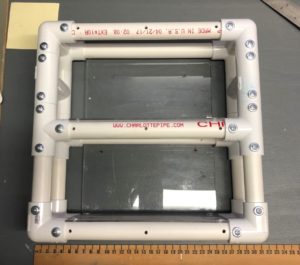
After our 2019 Field Day I decided that making three trips to my truck to gather my gear was two trips too many. I had to figure out a way to get my power supply (including solar charging system) all of my essential gear into one bag and that would allow me to have both hands free. The following is what I came up with. You will see pre-holed sections because these are pictures of the frame after it was reconfigured.
I started off by taking some measurement of a Rush 24 backpack I purchased from 511 Tactical on Indiana in Riverside. This purchase was made in 2018 and was never intended to become a go-bag, but its durability made it the perfect choice. I came up with a PVC frame that sits in the bag. I used a box of #8 X ½” Phillips-head sheet metal screws to keep the PVC joined instead of glue in case I needed to make any future modifications (which I did for this version). I used plexiglass to make shelves and panels for the accessories and the battery.
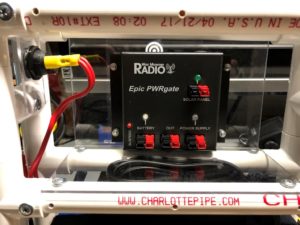
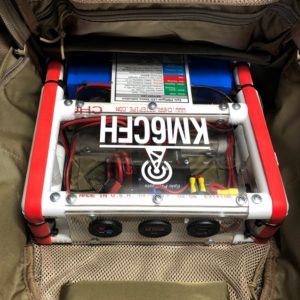
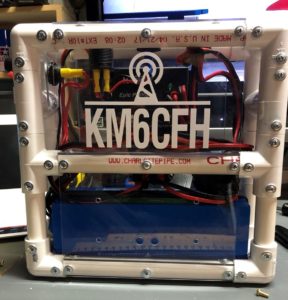
The next step was to strap a Bioenno LiFePO4 12V, 12Ah battery to the bottom shelf and bolt an Epic PWRgate to the plexiglass on the top panel. I installed a 30A switch which I constructed to work with Anderson Powerpole connectors to turn power off/on.
I made the holes for the accessories using a step drill bit. I modified a Powerwerx Panelpole so that I could plug in the solar panels through it (in blue) and kept the black/red for powering the rig. The center is a Powerwerx Panel DVM to monitor battery voltage and the other accessory is a Powerwerx PanelUSB-Plus to power an LED light that I use at night.
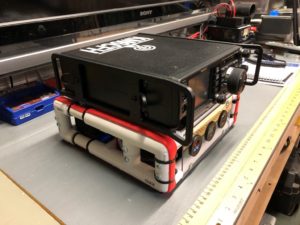
The final step was to make all the connections and place the “top” panel on the frame.
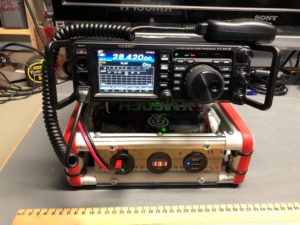
I used two heavy duty GRIFFITI Bands to keep the plastic and metal from sliding around on smooth surfaces. The reason I made it this size was not only to have it fit in the bag, but to also provide a base for my Yaesu FT 991A.
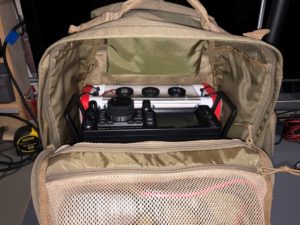
The next pics are of the power frame and FT991A in the bag. As you can see I have room above for some extra supplies I may need and use a piece of plexiglass I have to keep pressure off of the knobs on the rig.
The only thing I needed to purchase to make the frame was, 8 90-degree socket X socket X socket elbows, 8 tees and a box of #8 ½” screws. I purchased a 28” X 30” of clear acrylic sheet (plexiglass) to create the shelves. These items were purchased from Lowes for under $50.
I already had about 8ft of ½” schedule 40 PVC for the actual frame. All the electronic components and the battery were from other builds and projects I have worked on. Everything I carry in the bag, including the two solar panels strapped on the outside, weighs about 38 pounds which is very manageable and allows me to have two free hands while walking to my destination.
73
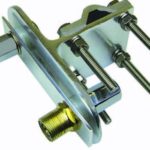
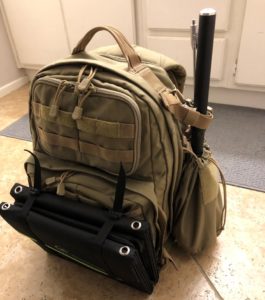
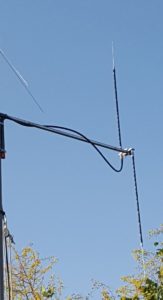 A new arm for my antenna mast was assembled using galvanized gas pipe fittings from the corner hardware store. I will be adding the second arm to this mount to relocate my 2 Meter antenna so the two are six feet apart. I have another five foot section to go above where I plan to mount a Ubiquiti Mesh network radio but that’s another project.